Does your iPhone need repairs and you’re thinking about trying these repairs yourself? Well, we have some good news and bad news. The good news? Common iPhone repairs are quite easy to do and won’t take too much time. The bad news? Apple has added some roadblocks to prevent you from actually repairing it yourself. Below are five essentials you need to know before attempting your iPhone repairs yourself.
Specialized Screws
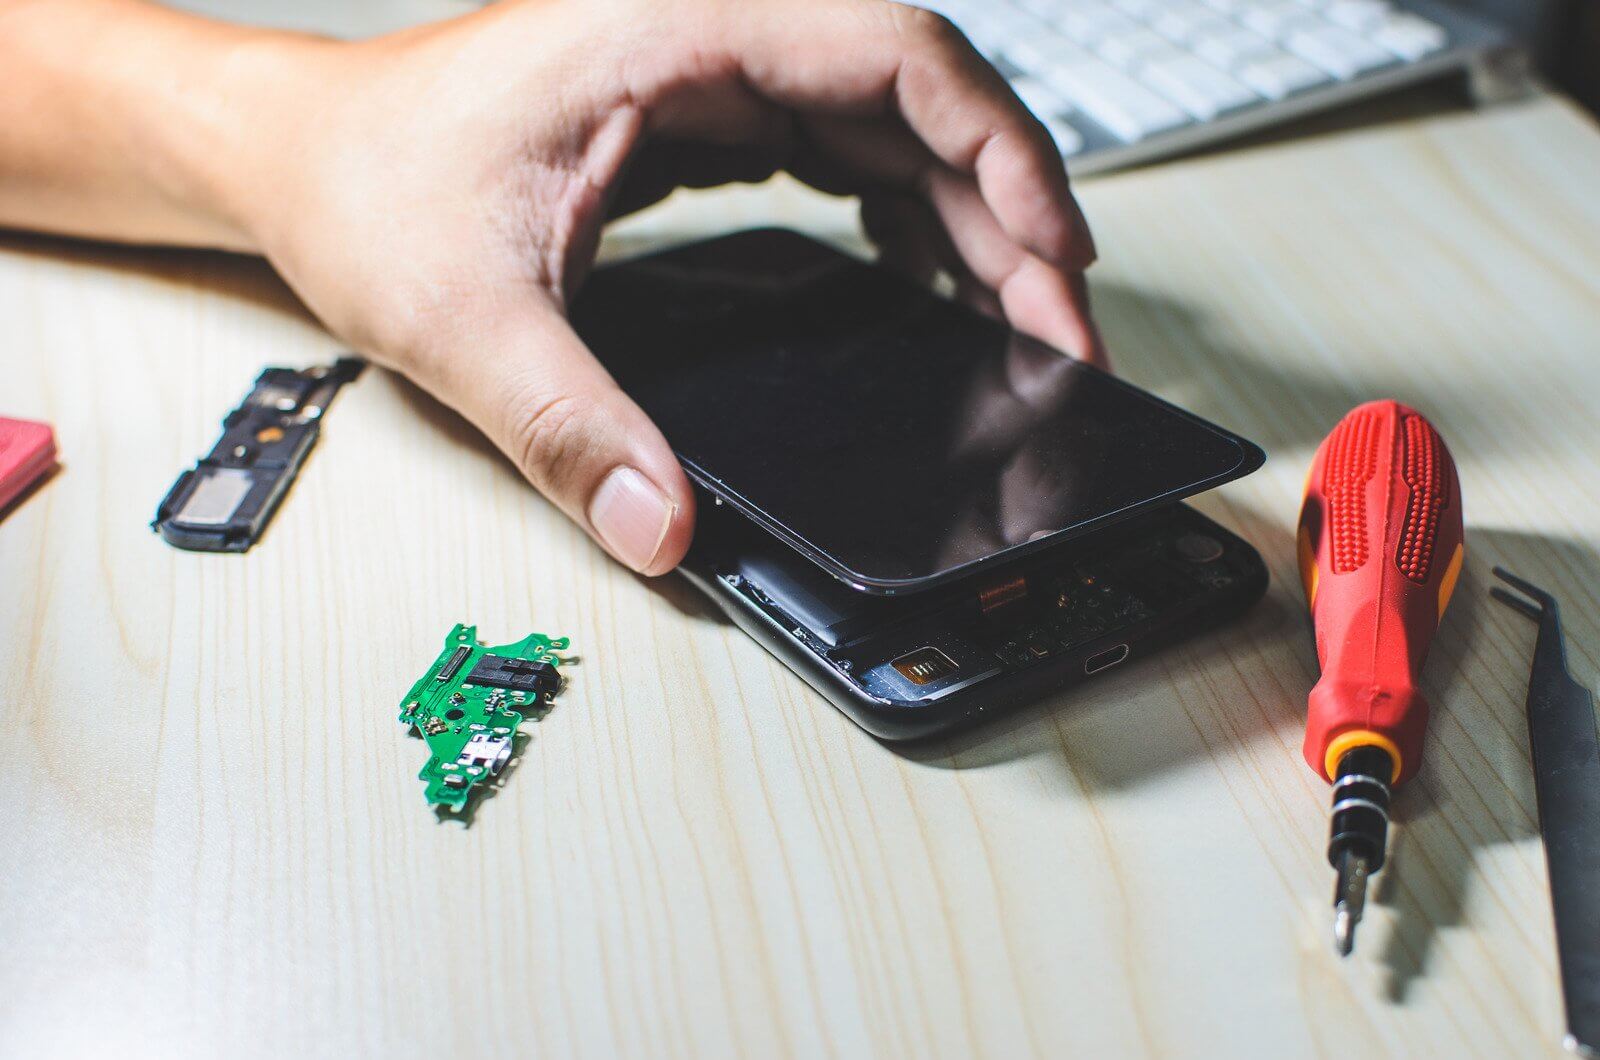
The first thing to address is opening up your iPhone. With most Apple products, you’re locked out unless you have specialized screwdrivers. Since the iPhone 4, Apple has used tiny proprietary screws, called pentalobes, to seal your iPhone shut. On top of that, inside most iPhones made in the last few years, you’ll find another rarity: the tri-point.
Not only are these screws uncommon, but they’re also tiny and extremely easy to strip. So if you’re thinking about any iPhone repairs, you’ll have to invest in screwdrivers that can deal with those pesky screws.
Remember to keep the screws you’ve used in a safe and organized space so that when you put the screws back, they go in where you took them out! If you don’t do this, or use alternative screws, you could risk damaging your device even further.
Adhesive
Once you’ve found the right tools and you’re about to open your iPhone, you’ll run into another problem, your iPhone is still stuck together with adhesive. The iPhone uses adhesive to secure both its screen and battery. The adhesive holding the display down helps with water resistance, and the adhesive on the battery holds it securely in place while the phone is closed. If you’re not expecting this adhesive, you can end up slicing or prying too firmly around the sensitive screen, or ‒ far more dangerous ‒ using too much force to lift up the battery.
Isopropyl alcohol, or our adhesive remover, can help with stubborn or hard-to-reach glue. Once you remove it, you’ll probably want to reapply it, which can also be tricky. The display adhesive, for example, is extremely thin in places and difficult to place. Fortunately, you don’t necessarily have to replace the adhesive you’ve removed from your display. Sure you’ll lose the water resistance it provides, but your display will not fly off when you use it.
Replacement Parts
The third tip to keep in mind when trying your repairs is that your replacement parts may not work exactly like the original part, even if they are authentic replacement Apple parts. In yet another way Apple has locked down your iPhone, various parts like your screen and battery can be exclusively linked to your phone’s logic board.
When installing a replacement part, your phone may display a warning and some features may no longer work. A replaced home button can result in Touch ID no longer working, a replaced screen can prevent you from using the true tone function and a replaced battery won’t allow you to see battery health information.
While this isn’t ideal, for the most part all the errors are just annoyances. Your phone should work just fine for a long time with the new parts installed.
Locked Out
Finally, the last thing you need to know about before repairing your own iPhone is Activation Lock. If you’re dealing with a phone that was wiped without turning off Activation Lock, and you don’t have the password of the iCloud account of the last owner, just don’t bother. Without that password, that phone is only good for its individual parts. You can spend a lot of time searching for activation lock workarounds, but none really work.
The easiest, time-saving option is to contact the professionals at ASK Computers to help with all your iPhone repairs in the Toronto area.